Slackware on Raspberry Pi
I have a Raspberry Pi 3 Model B+ which I so far have not really done much with. I did install Retropie (link opens in a new tab) on it, which lets you emulate old game systems. However, I ended up not having any interest in actually using it for that purpose, probably since I can do that same on my regular computer. So I'm going for somehing else, something that interests me to a much greater degree, although I still have no idea what to really do with it. I still think this is going to be fun!
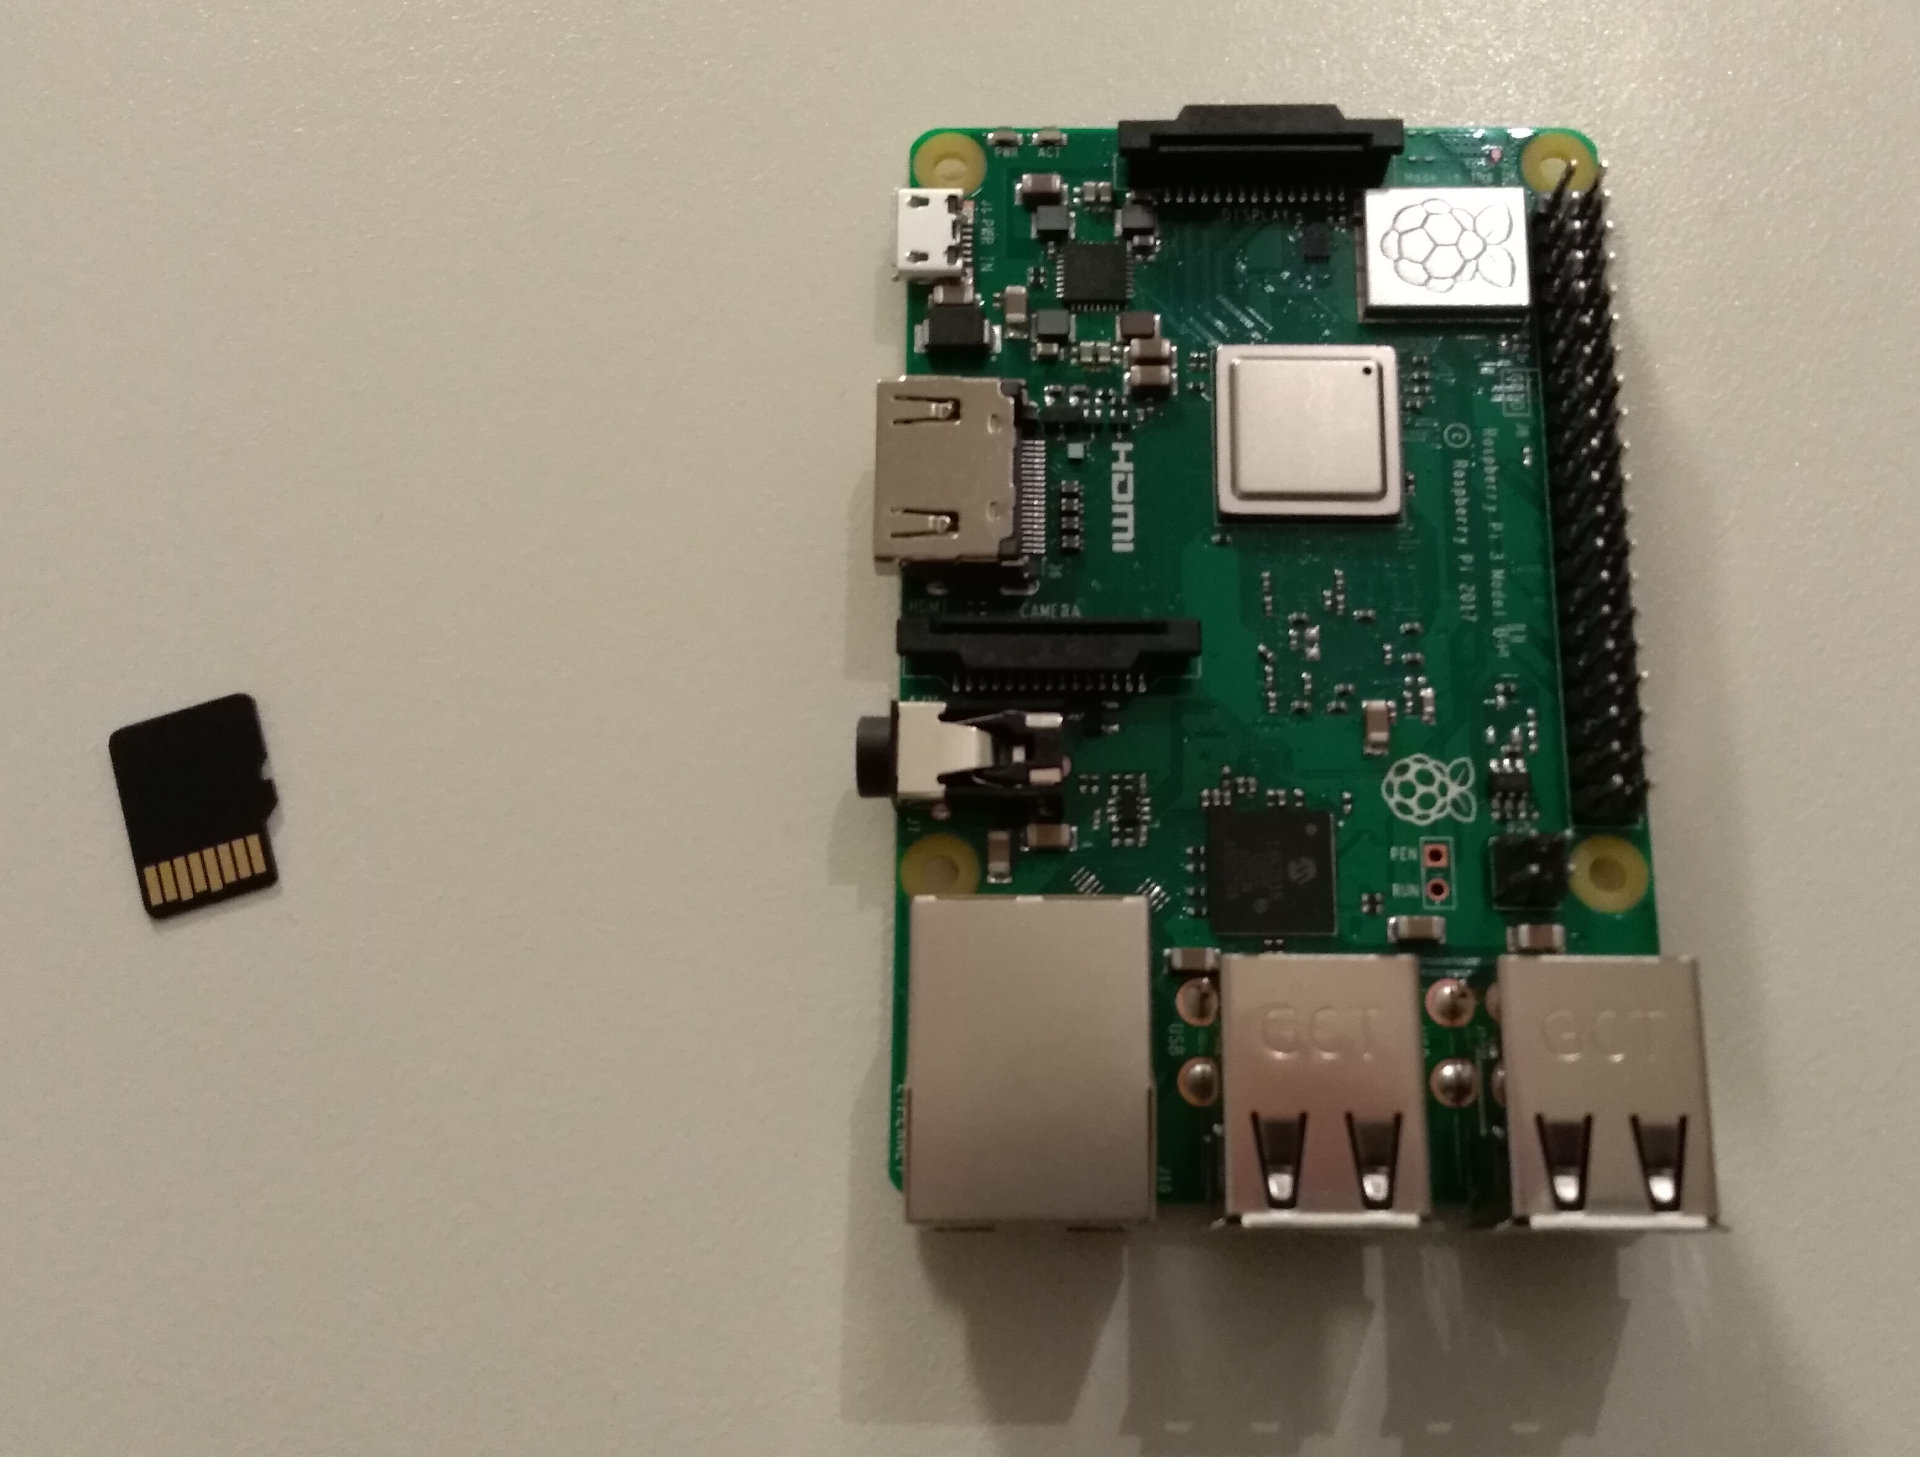
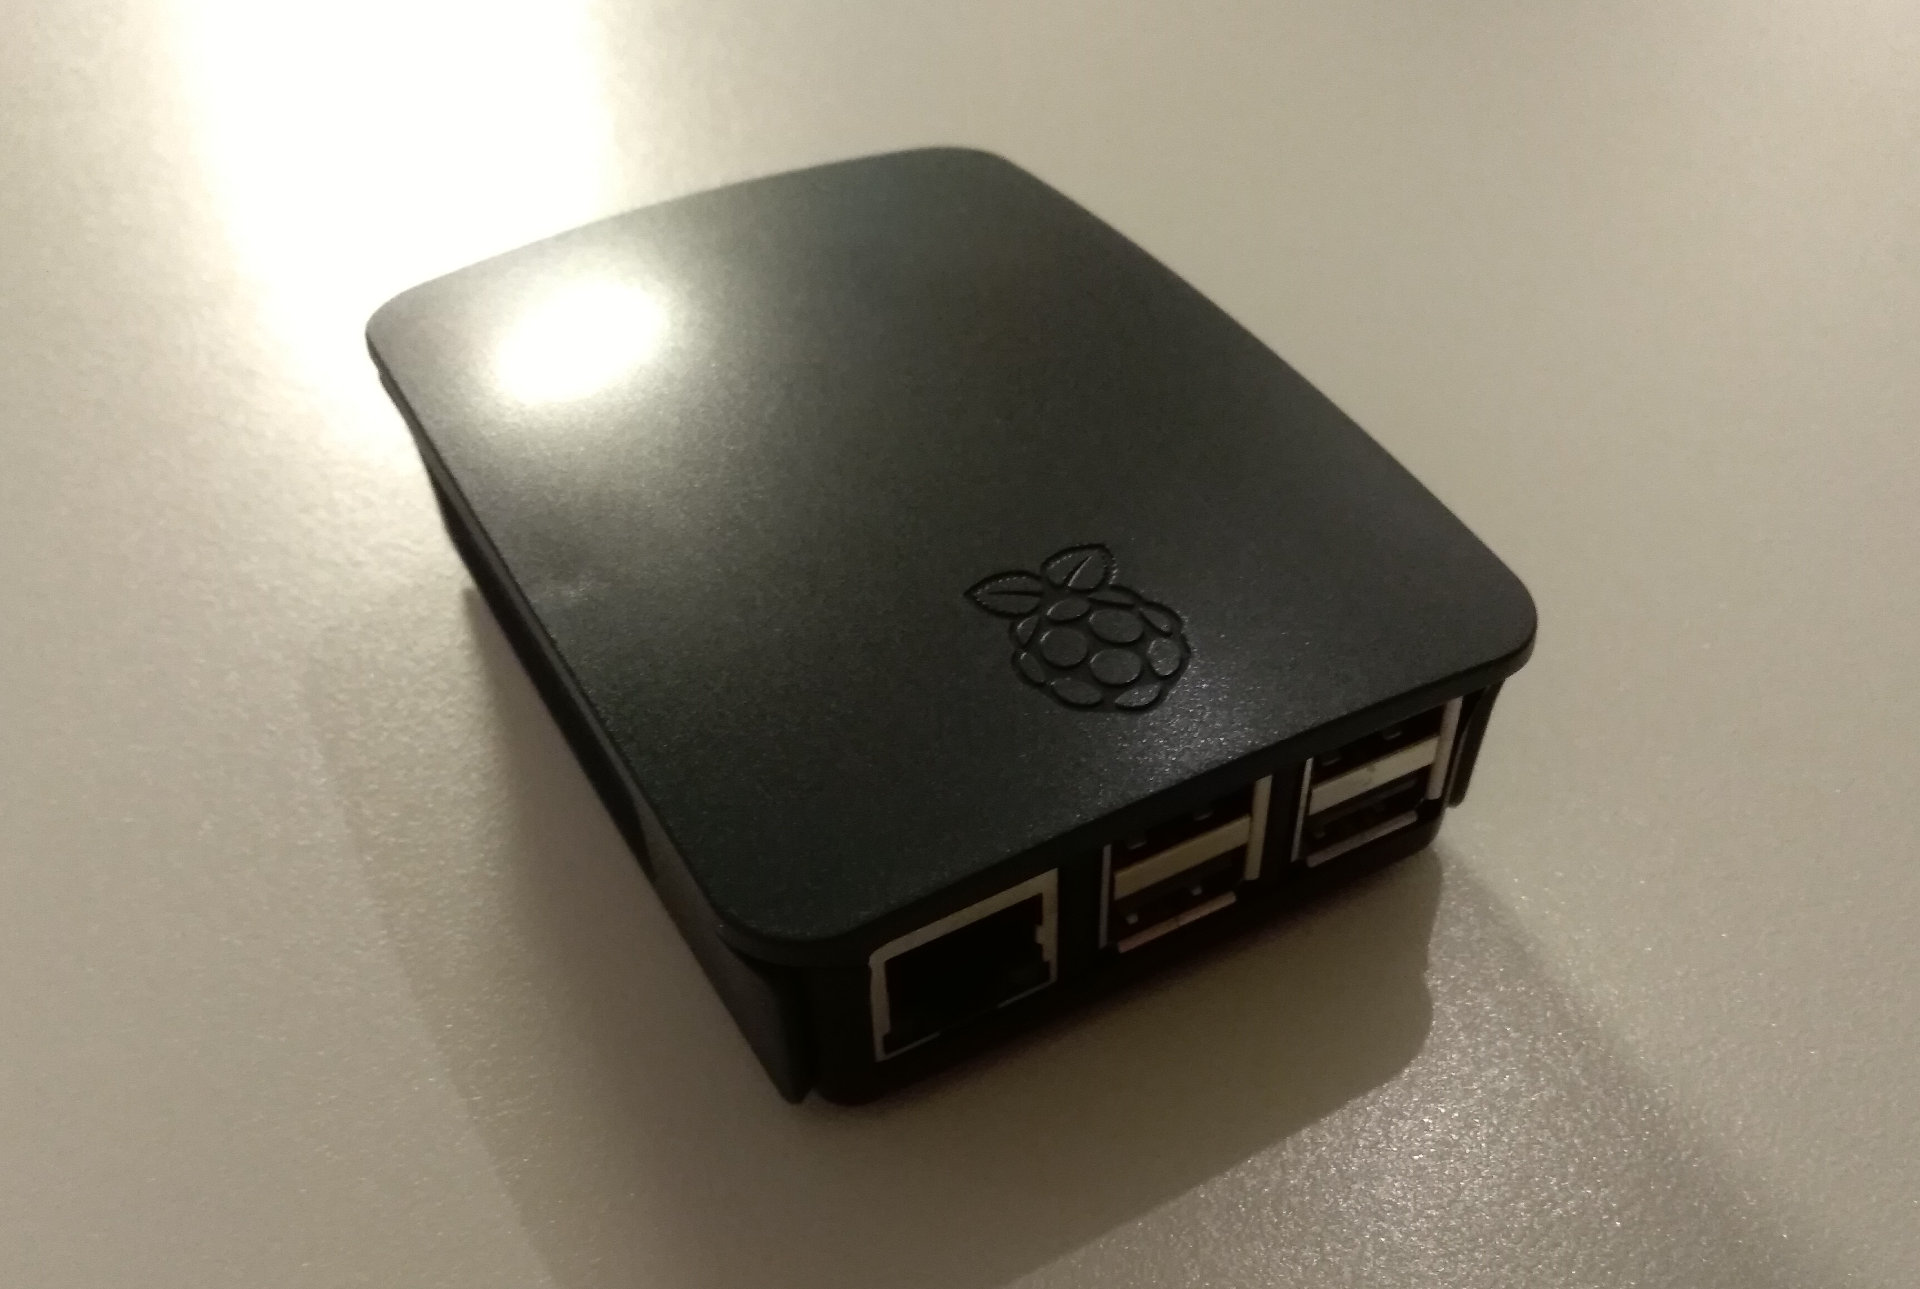
In case you don't know, a Raspberry Pi (this opens in a new tab too) is a tiny computer. It has had several models released over the years, and they are quite cheap. It is nowhere near the performance you would get from a regular laptop, but it is still surprisingly powerful considering the size and cost. It is frequently compared to the size of a credit card, which I suppose is accurate if you like to glue big electrical components on top of your credit card.
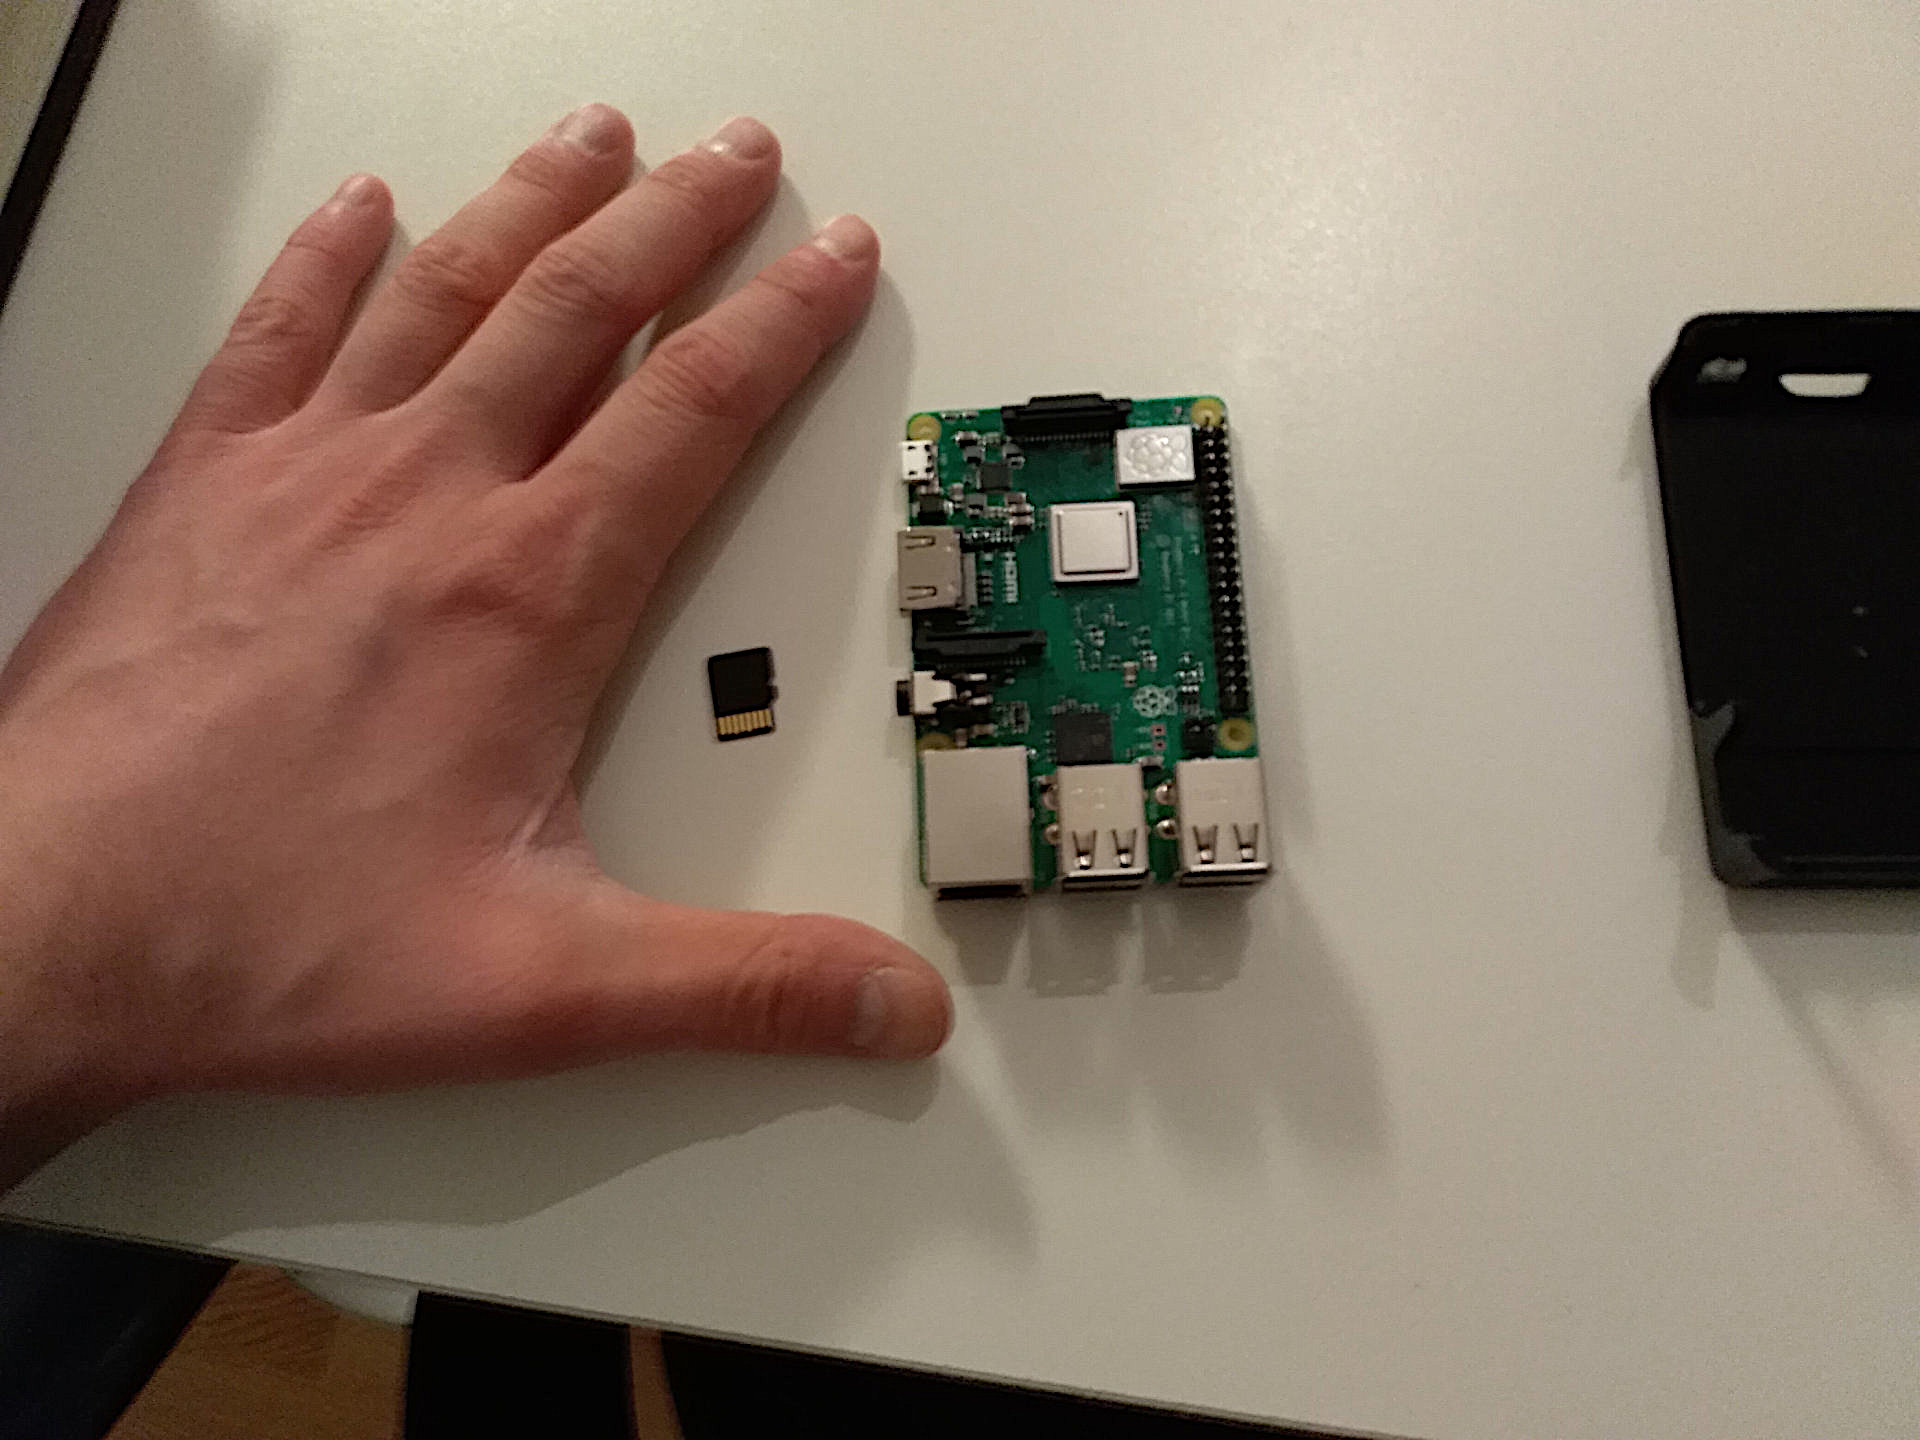
Still, it's pretty small, as can be seen compared to my hand. And yes, it is a real computer. You can connect it to a monitor via HDMI, connect a mouse and keyboard via USB. This model even has wifi, which makes it a lot more convenient than some older models that had to rely on cabled networking. This particular model has a 1.4 GHz processor and 1 GB RAM. With that in mind, I want to point out that my very first desktop computer which I had in 1998, had 460 MHz processor, and 32 MB RAM. Personally, I just find that it be extremely fascinating that I have had a full desktop computer that was considerably less powerful than this tiny little thing.
I didn't buy the Raspberry Pi for any particular purpose. It's just just such a cool little computer that I want to have for the novelty itself. But why do I want to install Slackware (opens in a new tab once again) on it? For one, I have always liked Slackware. Slackware is a Linux distribution, and it is the oldest distribution that is still in active development. This is a distribution which has an interesting philosophy and approach to system administration, one that I respect. All responsibility is put on the one maintaining the system, including the configuration of the system and all maintenance. It includes a lot of software, but software that is not included must be compiled manually. I have always been attracted to this type of philosophy, which is why I decided to use Slackware on my Raspberry Pi.
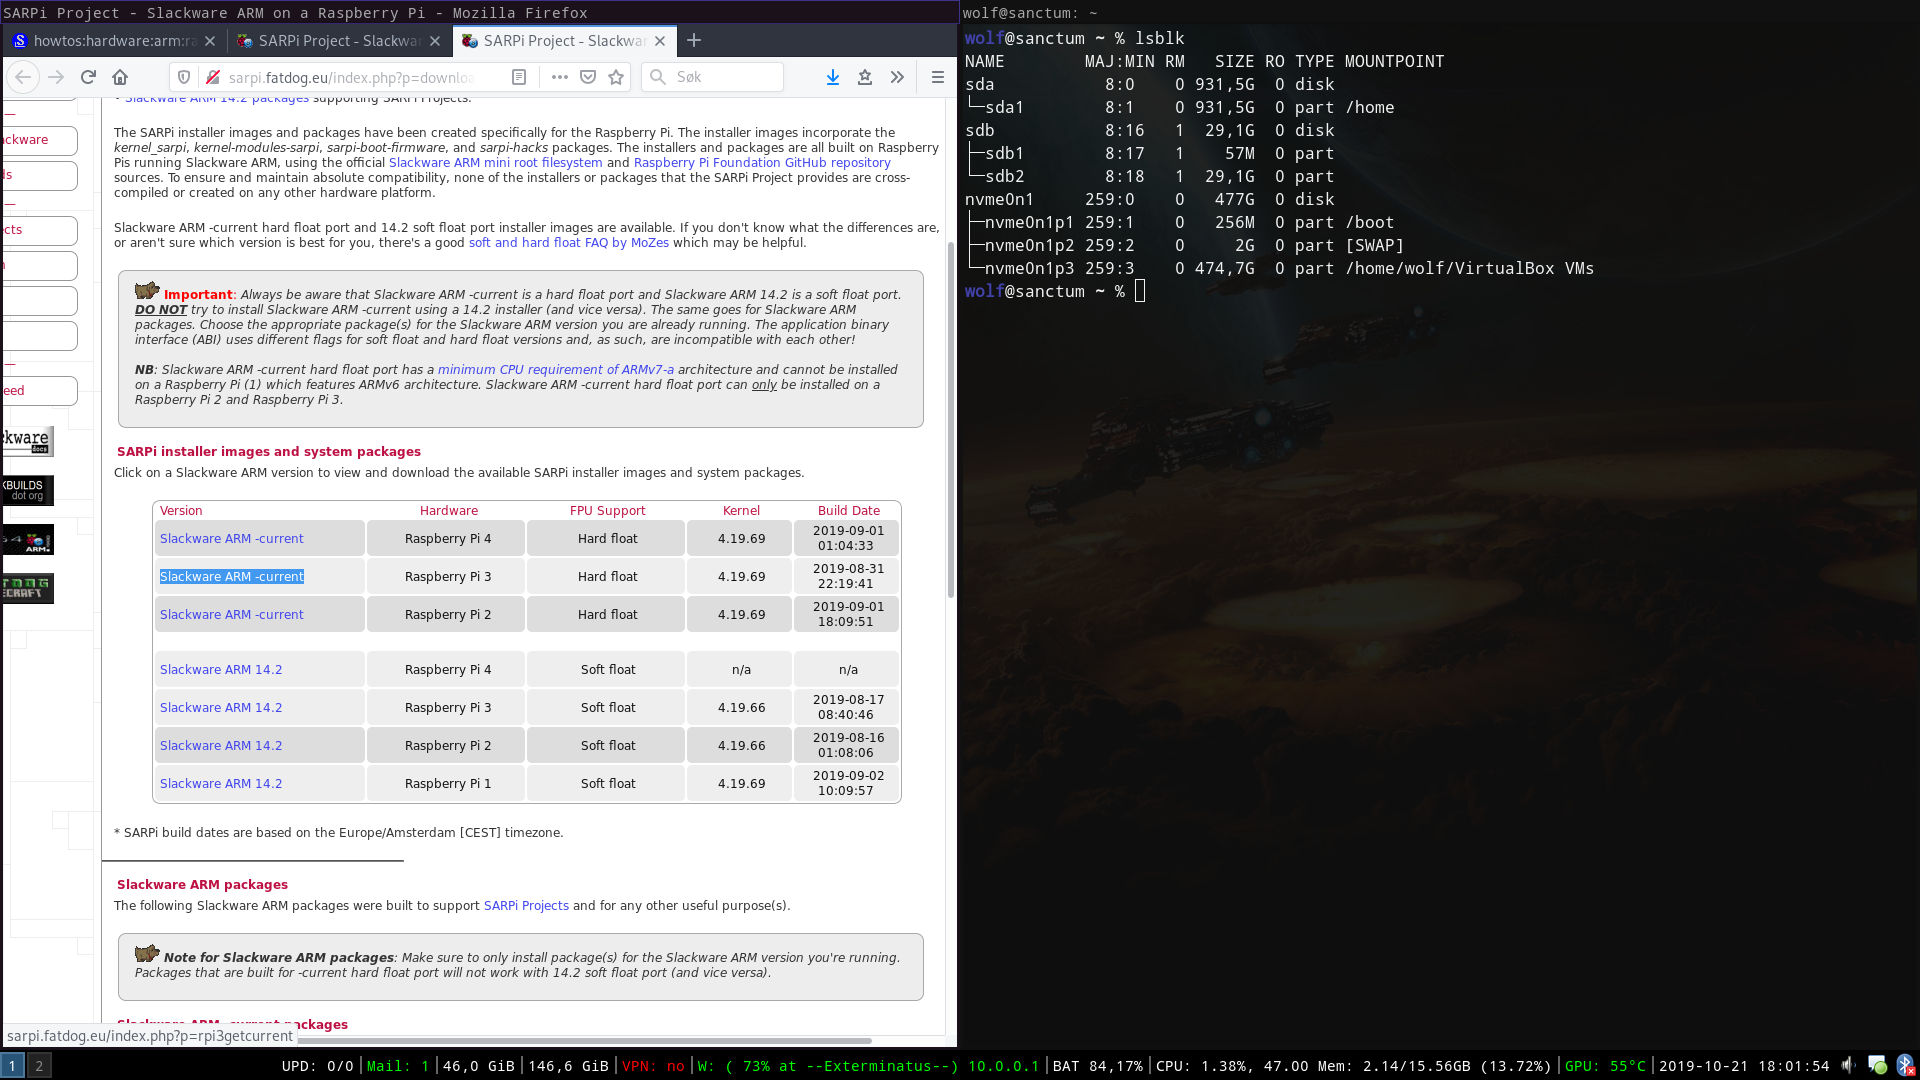
Slackware itself can't be installed on a Raspberry Pi, but thankfully there is an unofficial community port of Slackware ARM for the Raspberry Pi (yes, this link also opens in a new tab). I also had to decide between running Slackware 14.2, which is the latest stable release, or running Slackware current. The current branch is essentuially a testing version, which can be unstable or break. I will take the risk to track the current branch, and hope that I am experienced enough with Linux to manage any potential issues. There was also another thing that made me pick current, FPU. Only the current branch of Slackware ARM is compiled to support Hard Float, meaning that it can make use of the FPU of the processor. The details of this is beyond the scope of this article, but it should make stuff run faster.
Preparing to install
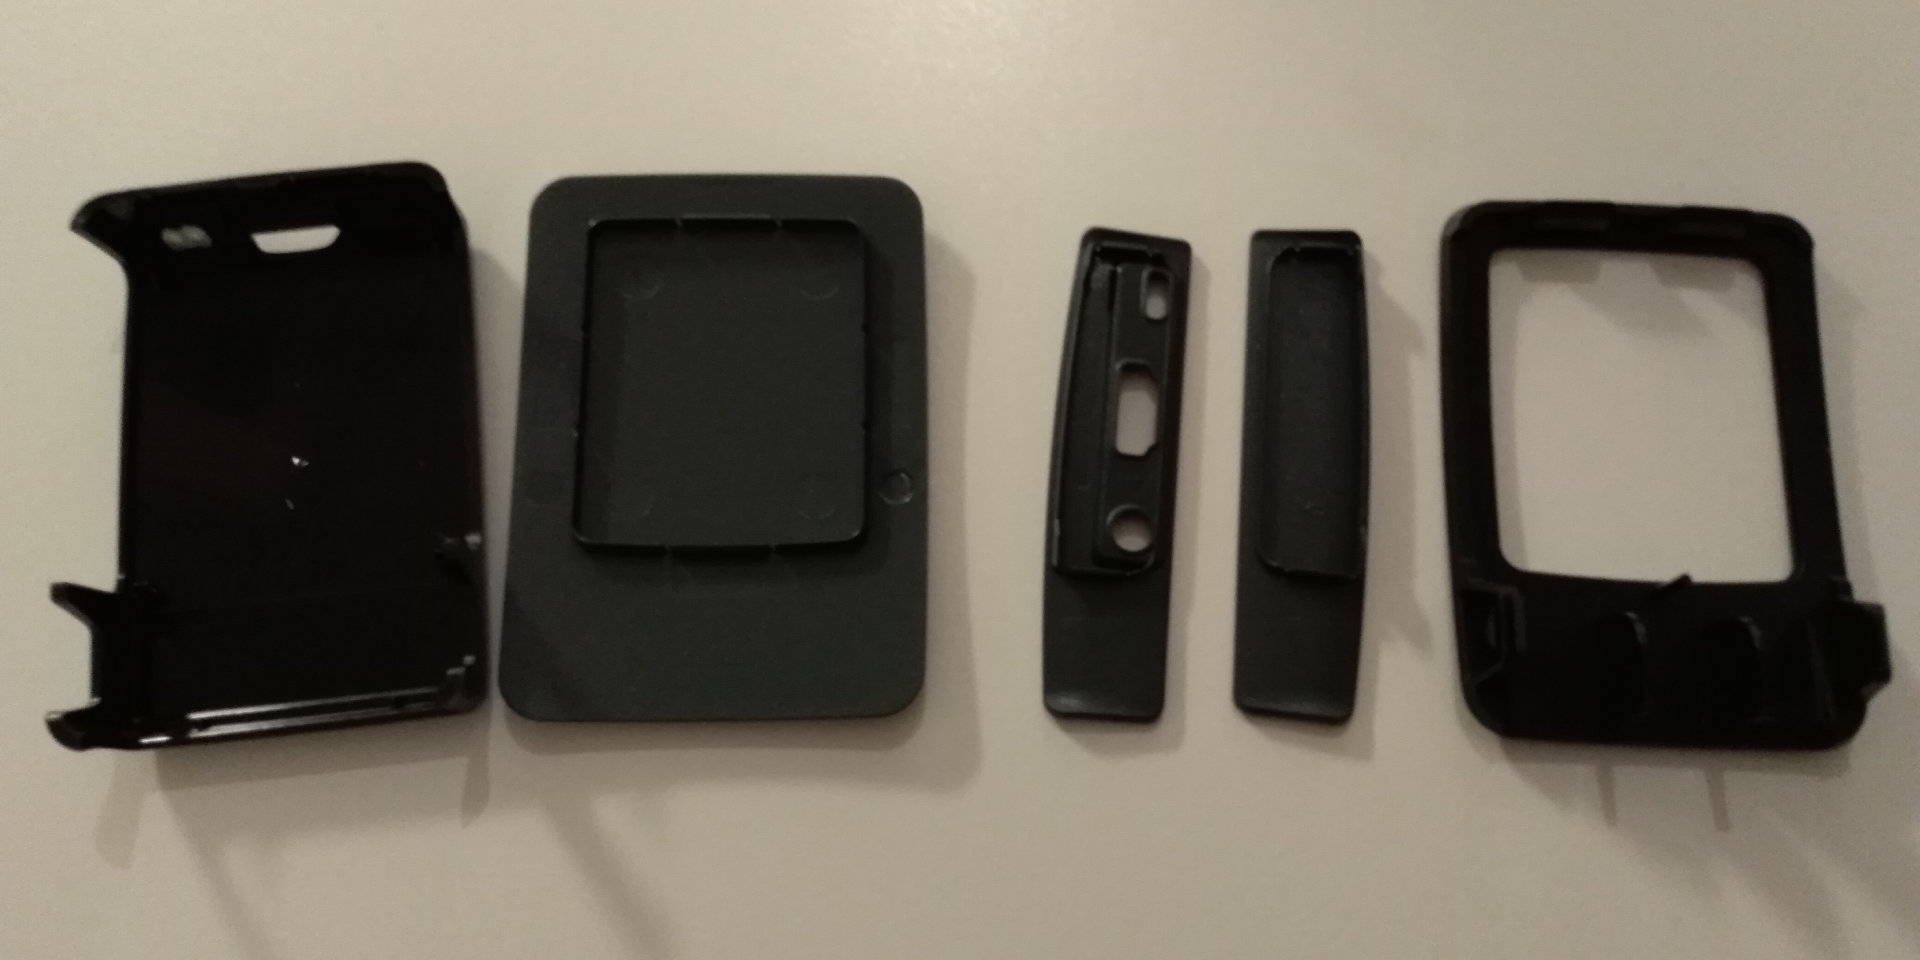
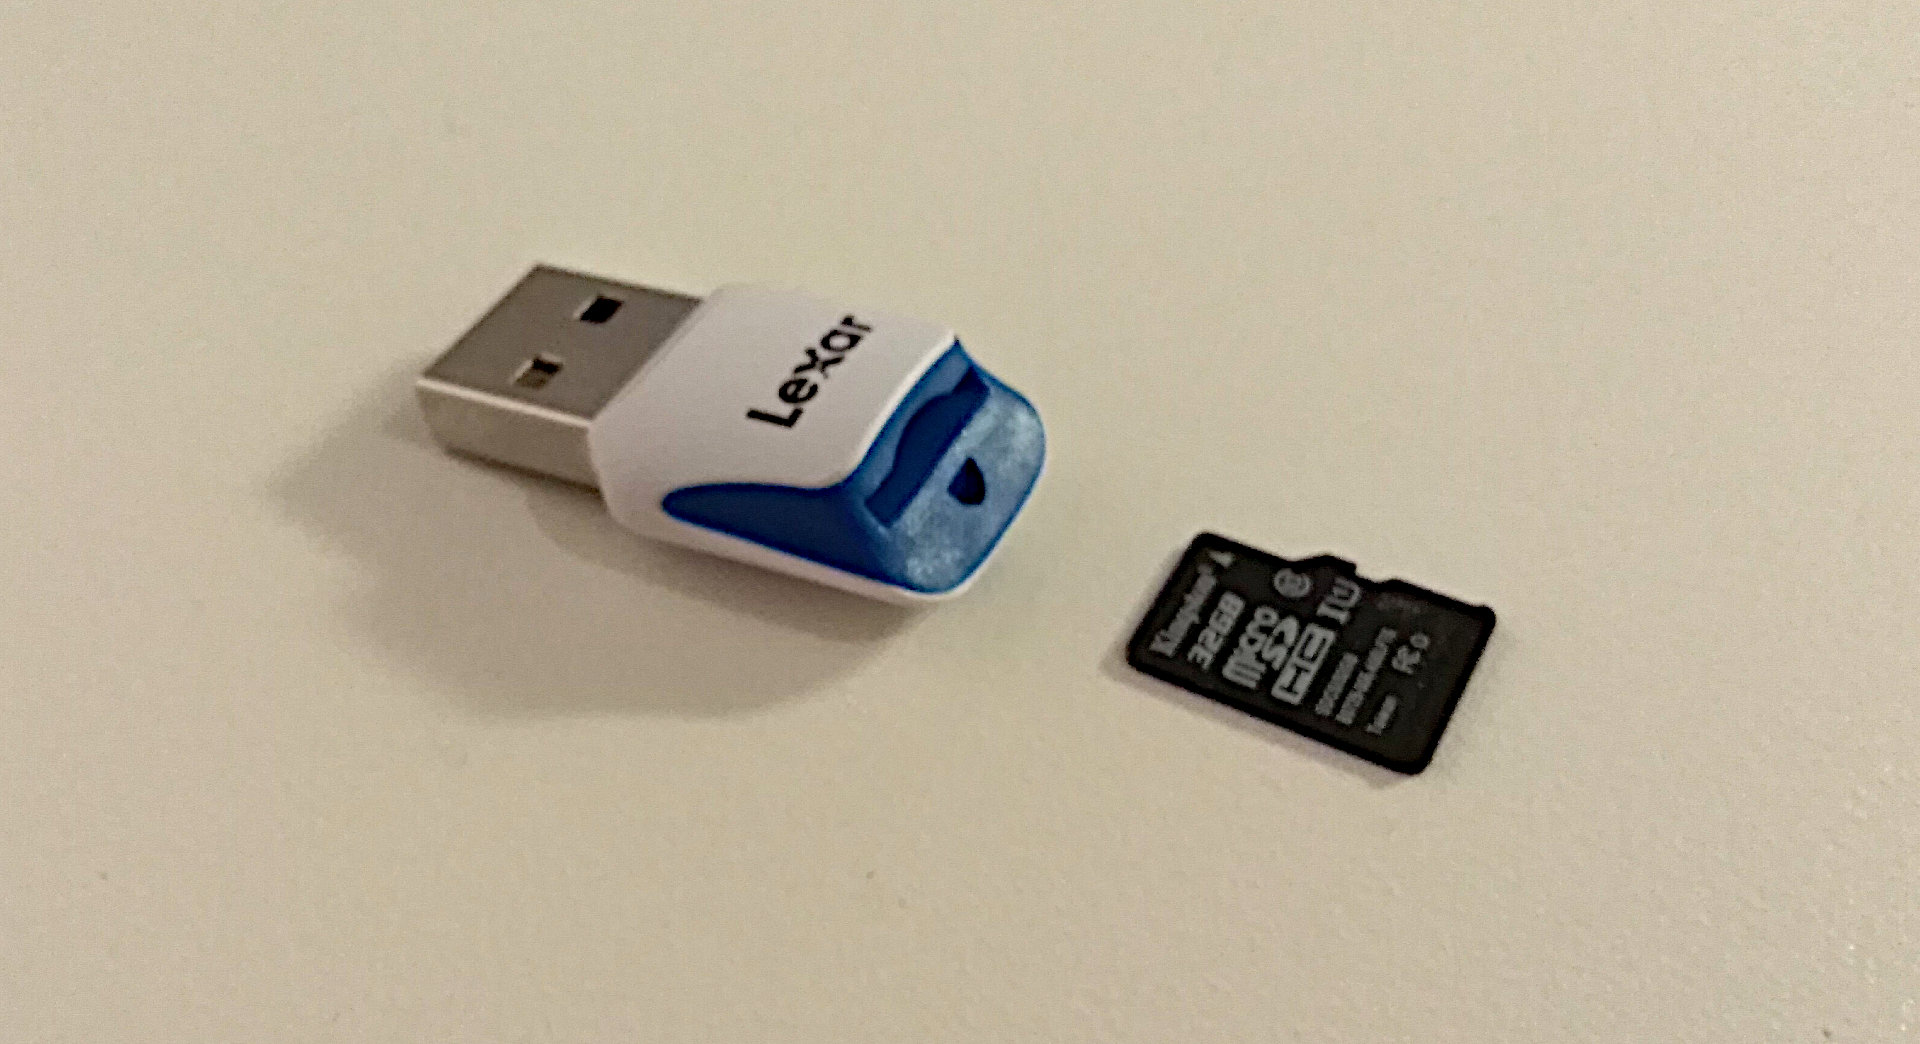
I have a case for my Raspberry Pi which I purchased along with it. The case consists of simple plastic components that fit together. Assembling the case is a simple matter and done in seconds since the pieces easily snap together. The Raspberry Pi uses a MicroSD card as the storage. I have a 32 GB card, which should be more than enough storage for whatever purposes I might have in mind.
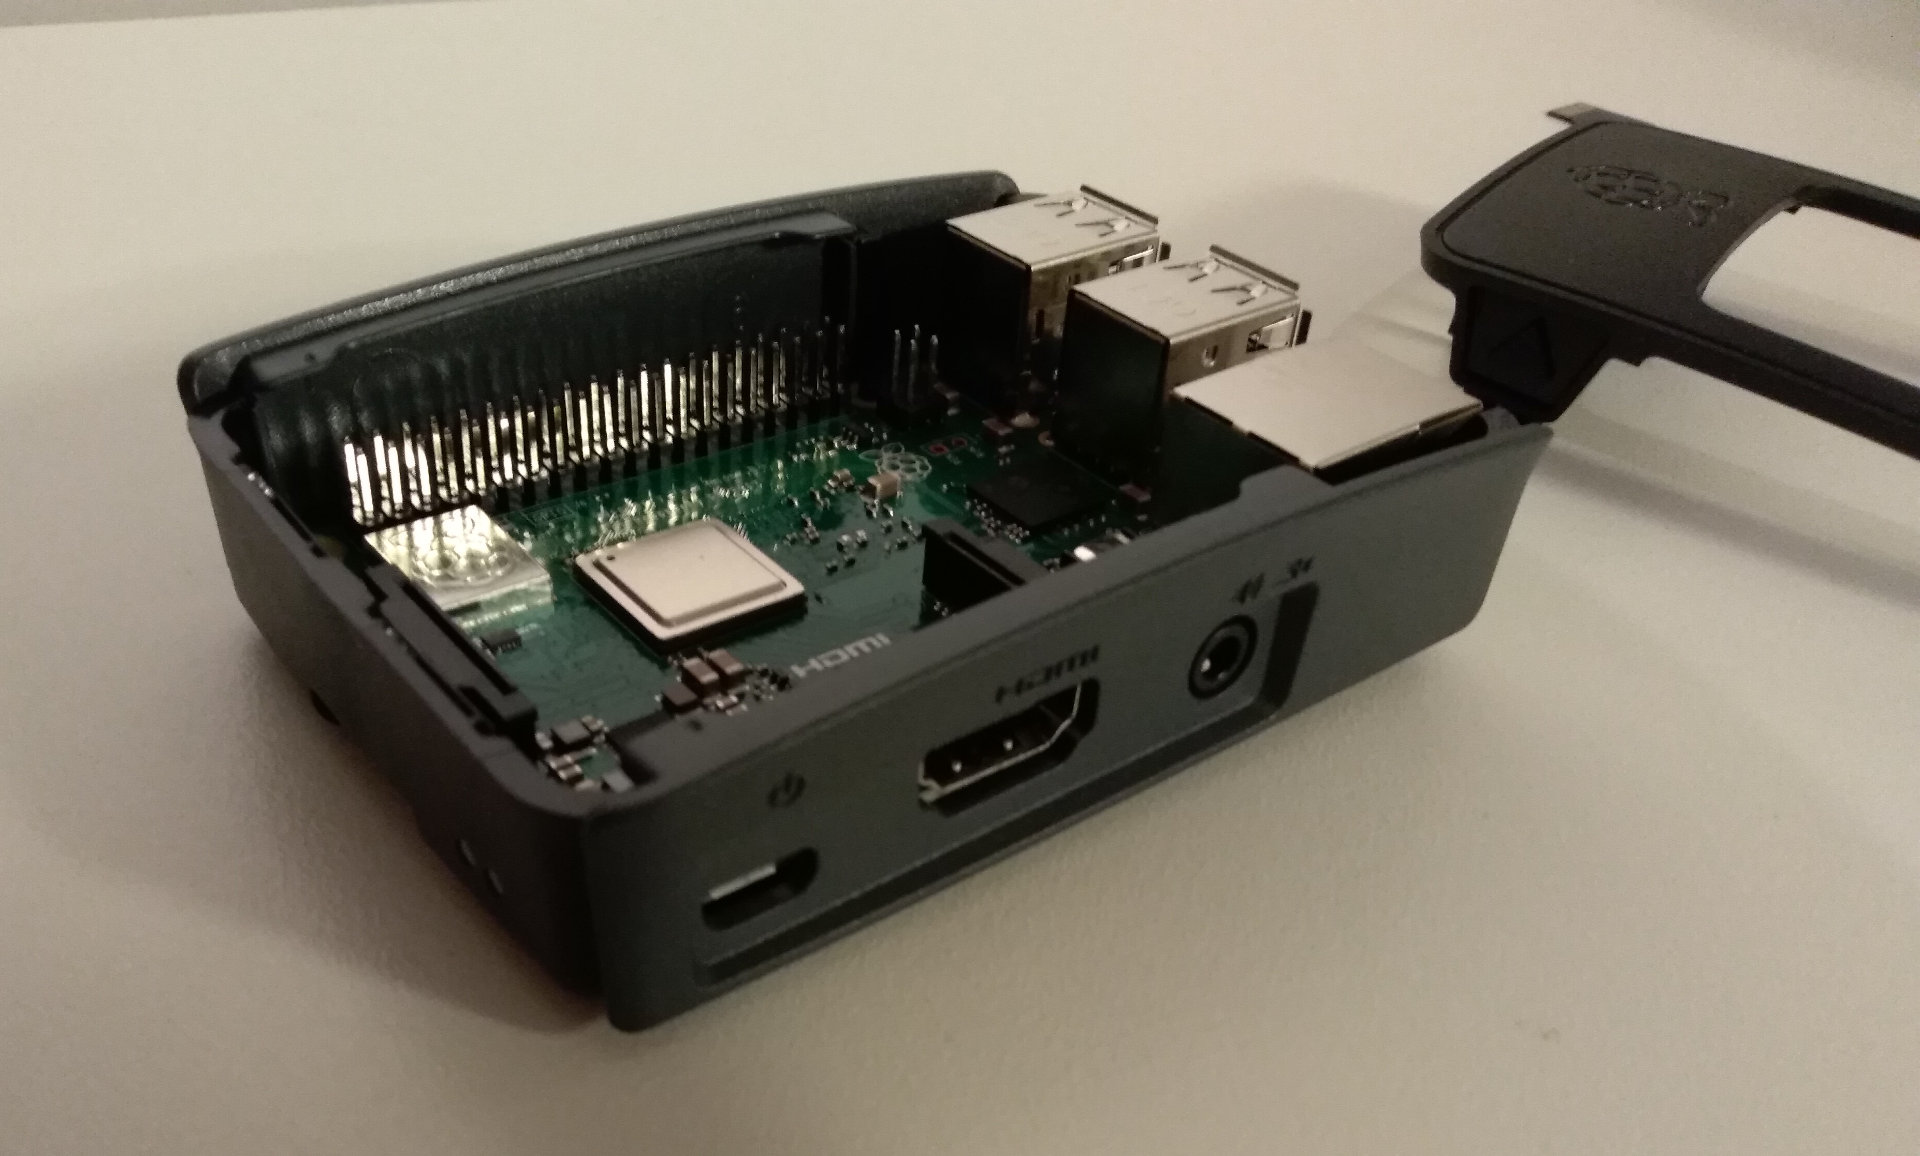
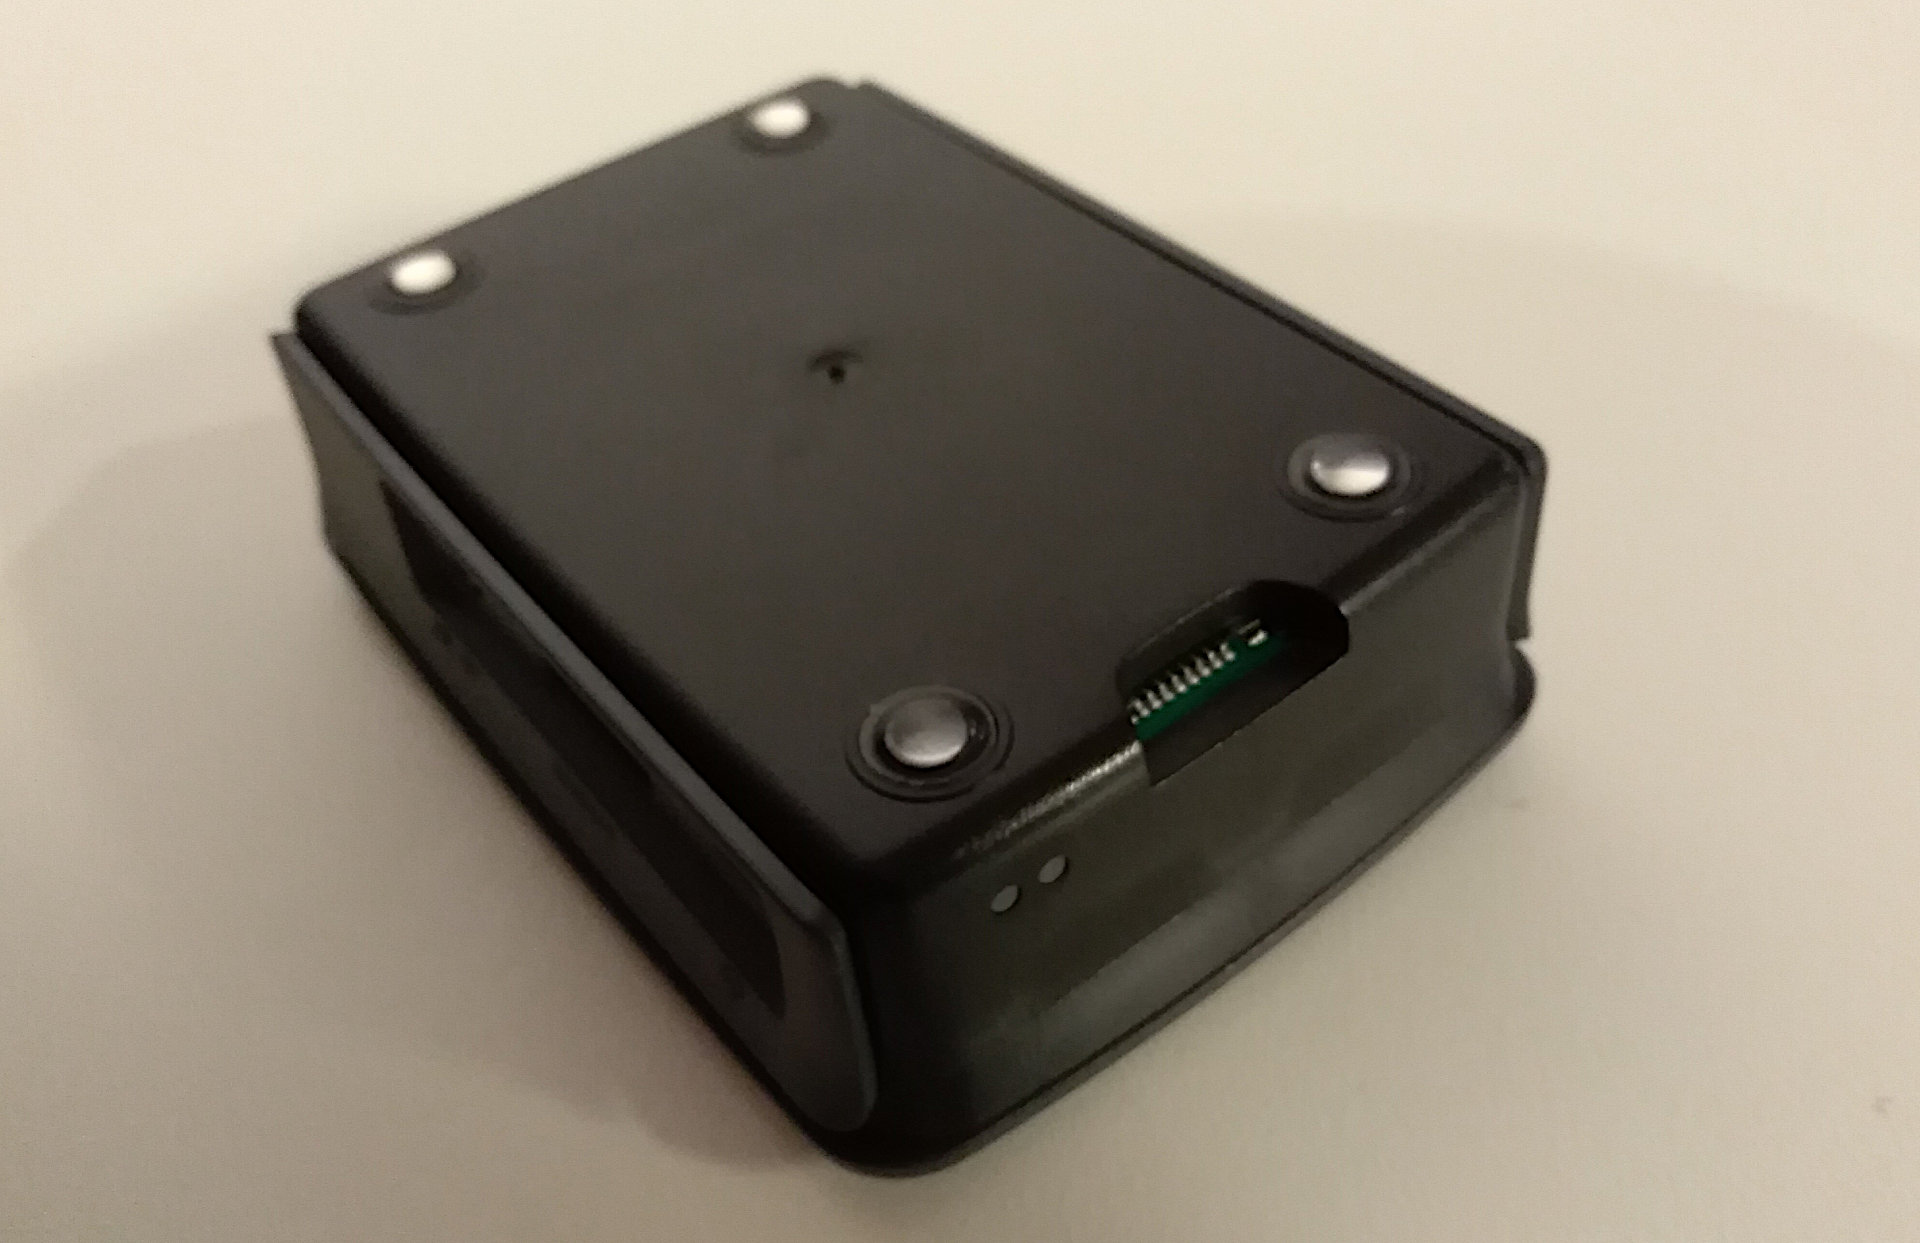
Once the case is fully assembled, we can still easily access the internals by removing the top of the case. This might also be useful if it gets too hot while running. The MicroSD card is also easily accessible underneath, meaning I don't need to open the case to insert or remove the SD card. This is important since we will need to do some stuff with the SD card before we are ready to actually boot up the Raspberry Pi. My regular computer does not have any slot for reading MicroSD cards, so I need to use a USB adapter. Then I can plug it into my normal computer where I will need to write some stuff to it before inserting it into the Pi.
Next step is to download the installer image and write it to the SD card. This is what lets the Raspberry Pi actually start and boot up. My plan is to perform the install without connecting any monitor or keyboard to the Raspberry Pi itself. Instead, I will use a program called 'SSH' to connect to the running Raspberry Pi through my local network, and then control it via my regular computer. I had to do a slight modification to a file on the installer image for this. Additionally, for the installation procedure itself, I'm downloading the Slackware ARM source media and writing it to a USB stick.
If you want to read the details of this, check out the installation guide (you know the drill, new tab).
Now we've got just about everything ready to start the installation. So, time to connect the Raspberry Pi to my router via Ethernet cable and power it up. Obviously, I will also need to insert the MicroSD card with the installer image, as well as the USB stick with the source media. The Pi does not have a power button, so you just connect the power and it turns on. However, this also means you can't power it off via a power button, so if you want to ensure that it safely shuts down (avoiding potential data corruption) you need to use command line to initiate a shutdown.
Installing Slackware
This is not a step by step tutorial, if you want full details, please reference the installation guide that I linked to above.
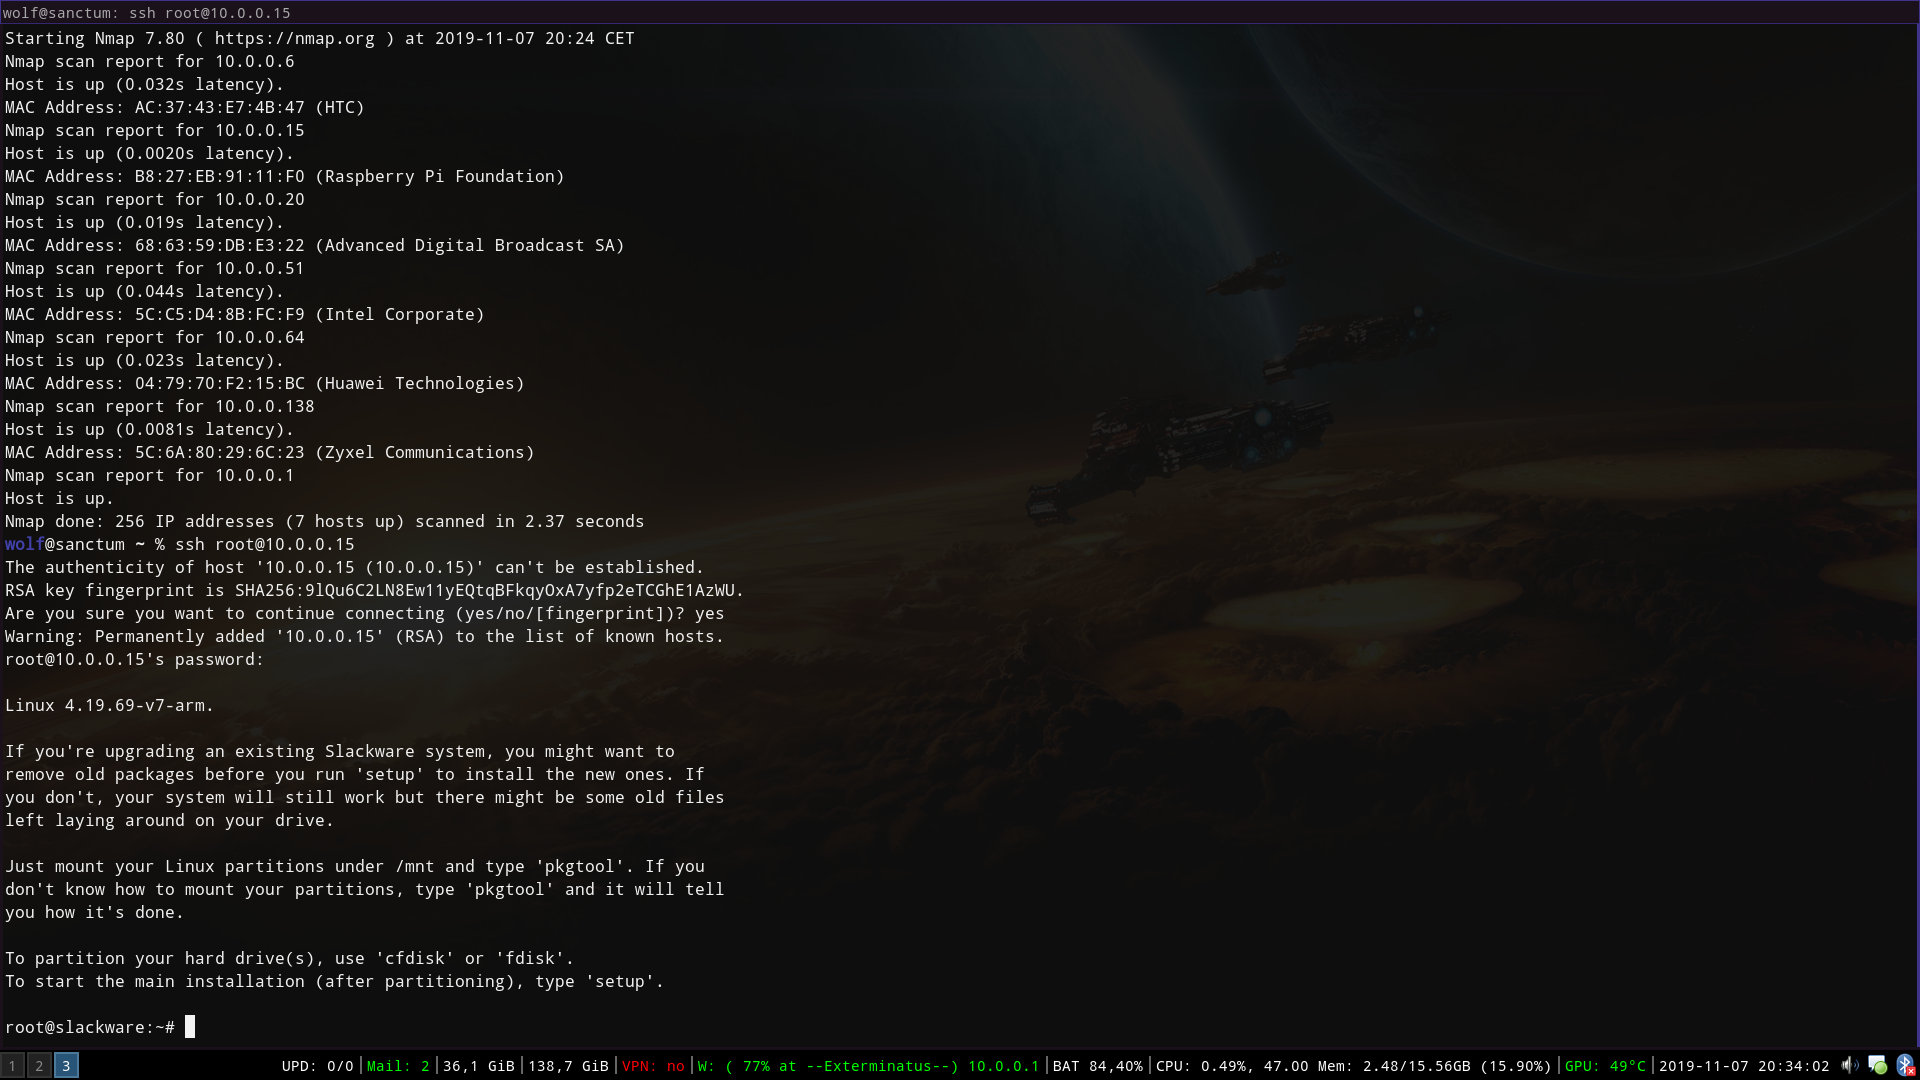
Now that the Pi is booted up, and connected to my router, I used the nmap command to find the local IP address of the Pi. With that, I can connect to it via SSH to begin the proper installation process. For some reason, I could not connect via SSH. So I connected it to my TV via HDMI cable, and plugged a USB keyboard in it. Apparently, the SSH service was not running from boot for some reason. I did not bother to investigate why, I just ran the "/etc/rc.d/rd.dropbear" script with the "start" command. This let me connect from my normal computer.
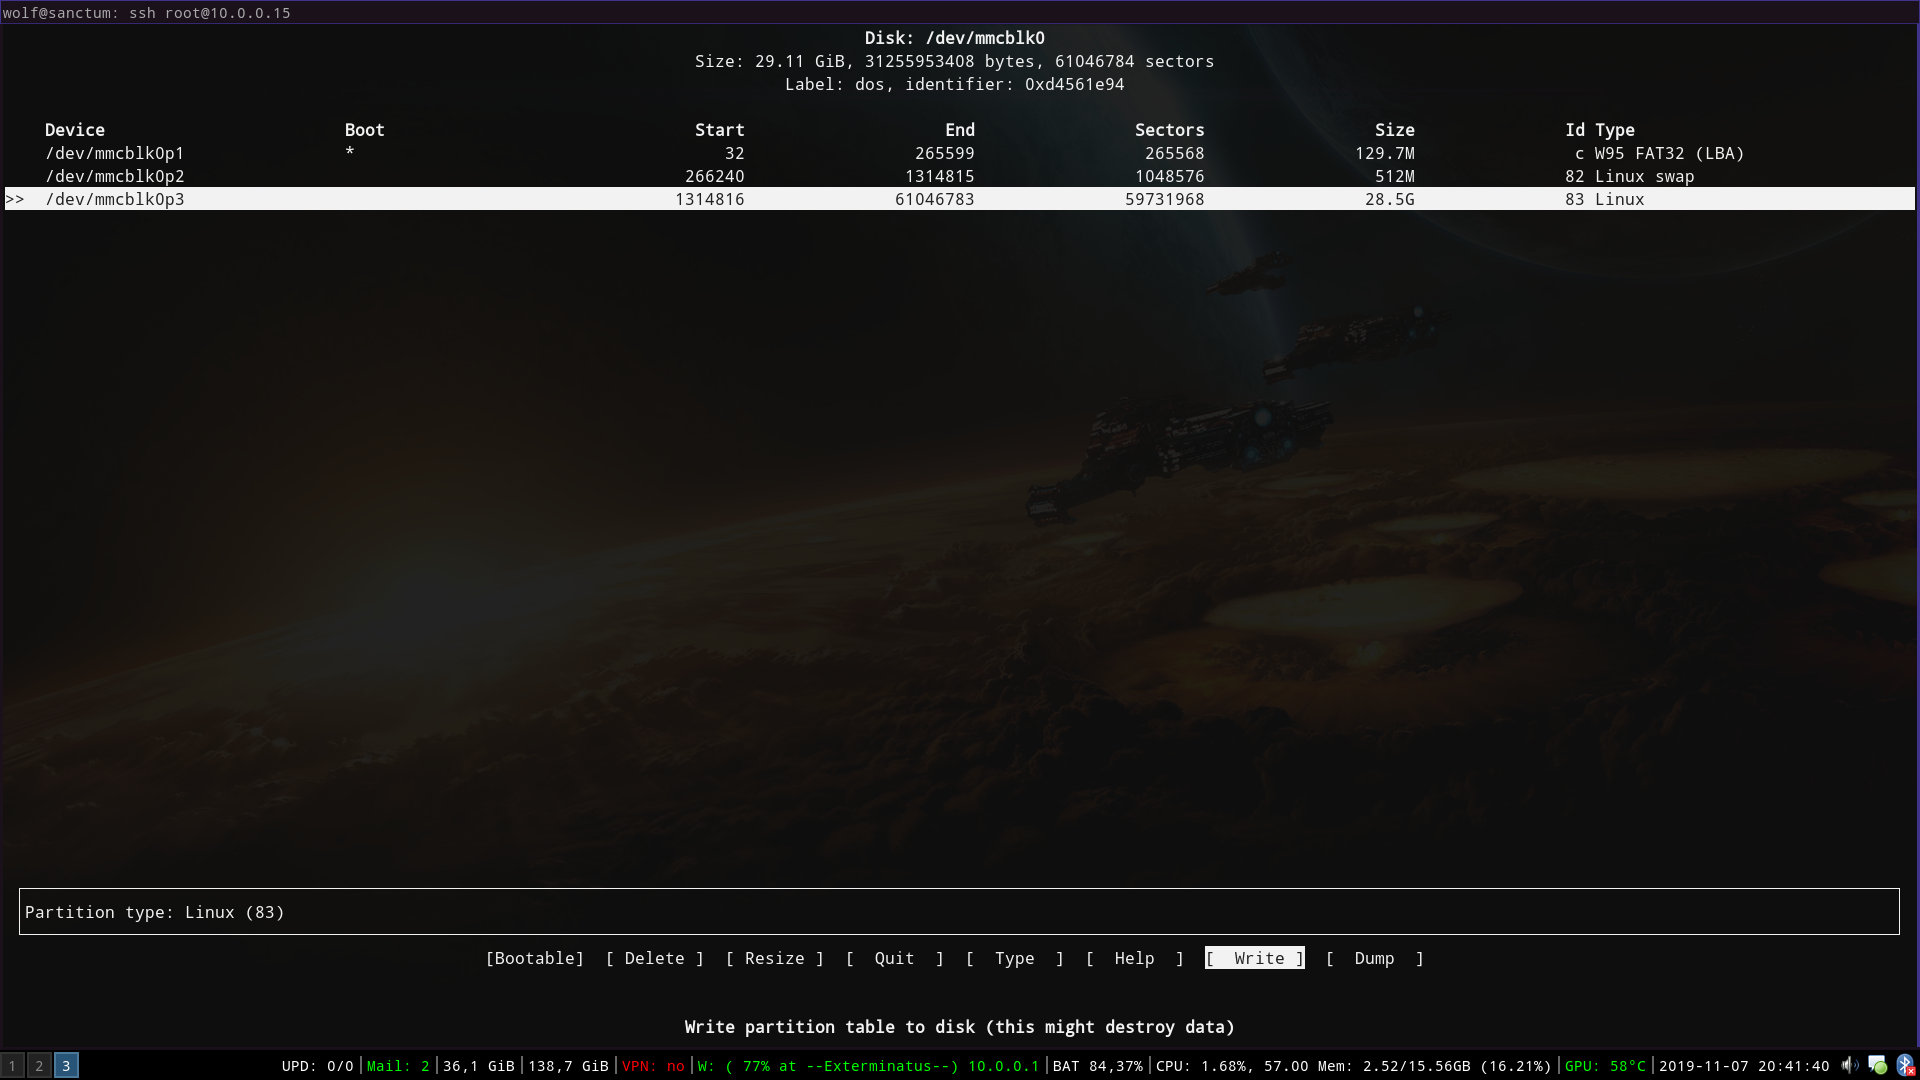
However, before starting the actual install, I had to set the correct time. The NTP command is useful for this purpose since my Pi has internet connection via my router. Another thing that needs to be done is to partition the SD card so it is ready for installation. For this, I used cfdisk. We already have one partition formatted with FAT32, this is suitable for a /boot partition. In addition, I set up a small swap partition, and the rest of the space on the SD card will be my root.
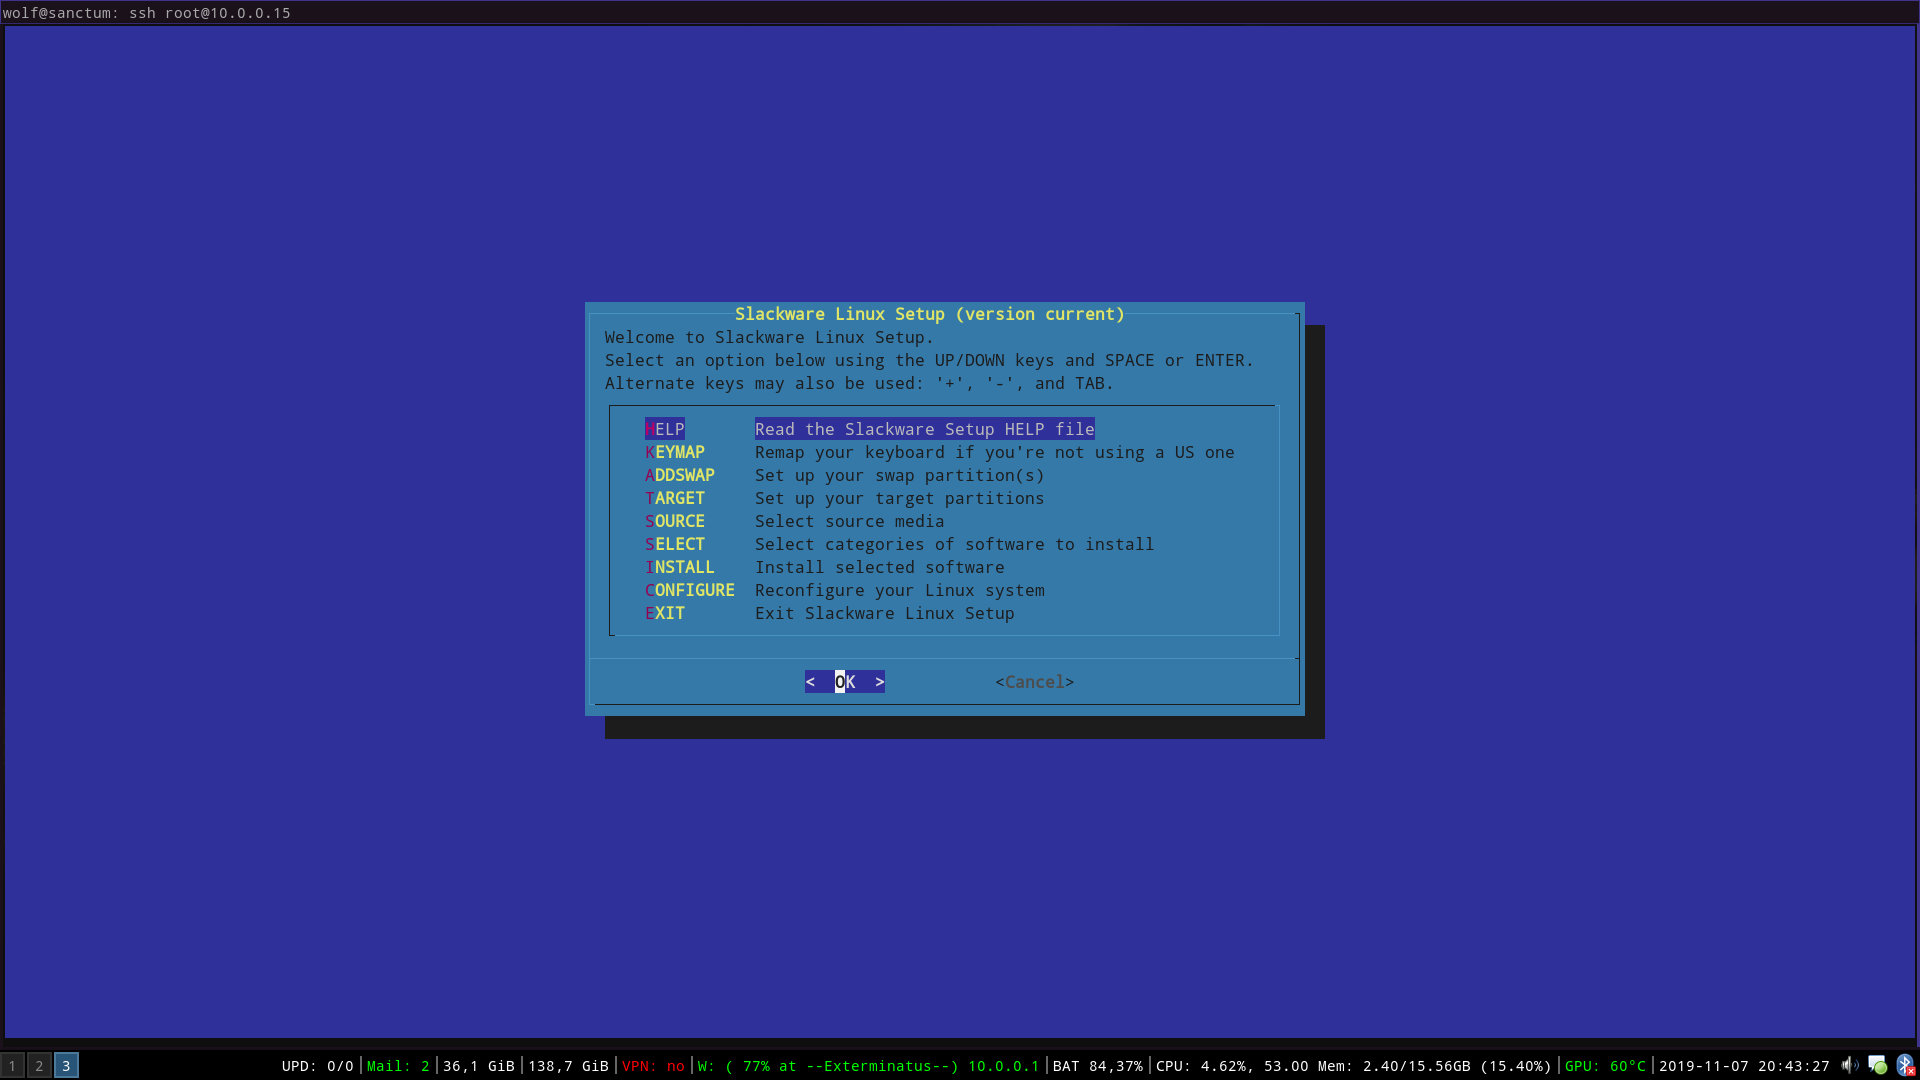
By now, everything is ready to launch the setup program. The Slackware setup program is actually pretty straightforward. If you have experience with Linux, then it should be a simple process. I started at the first step, which is to set the keyboard, and from then on the setup program runs through all steps.
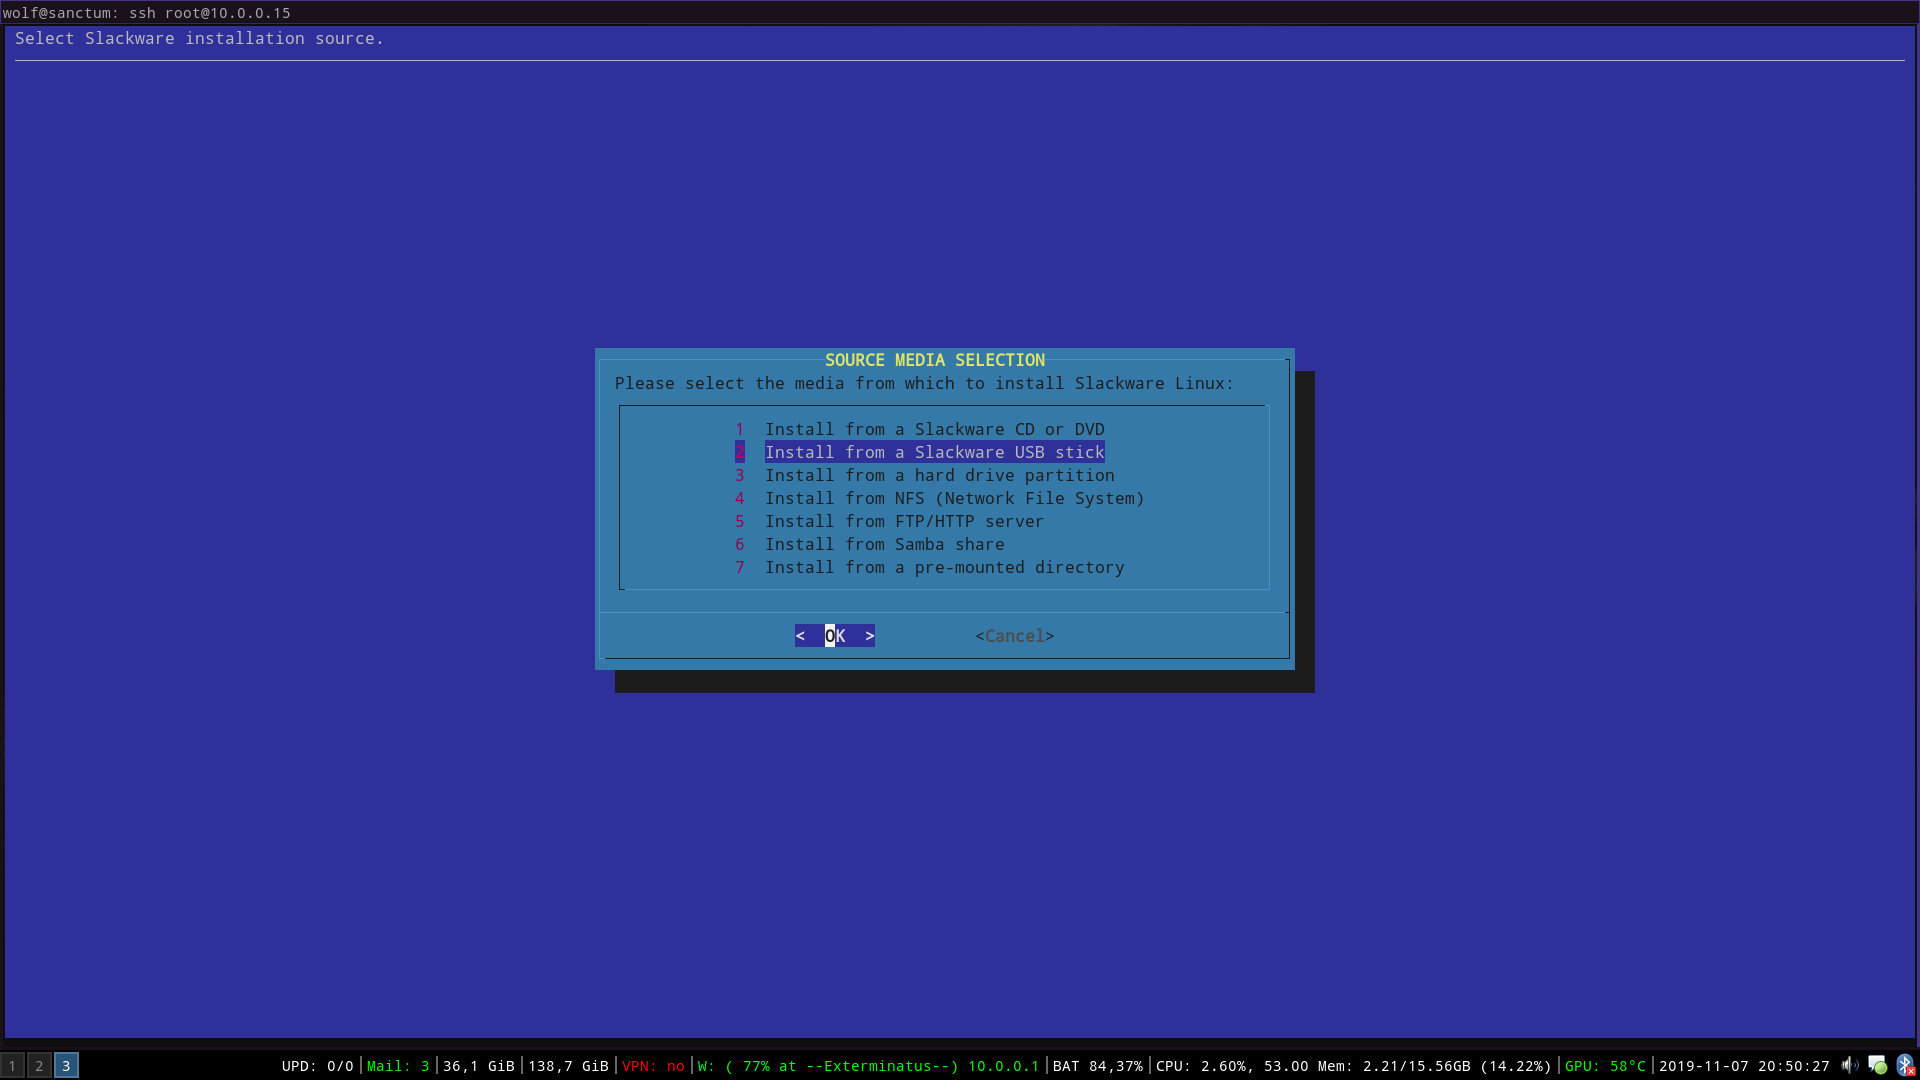
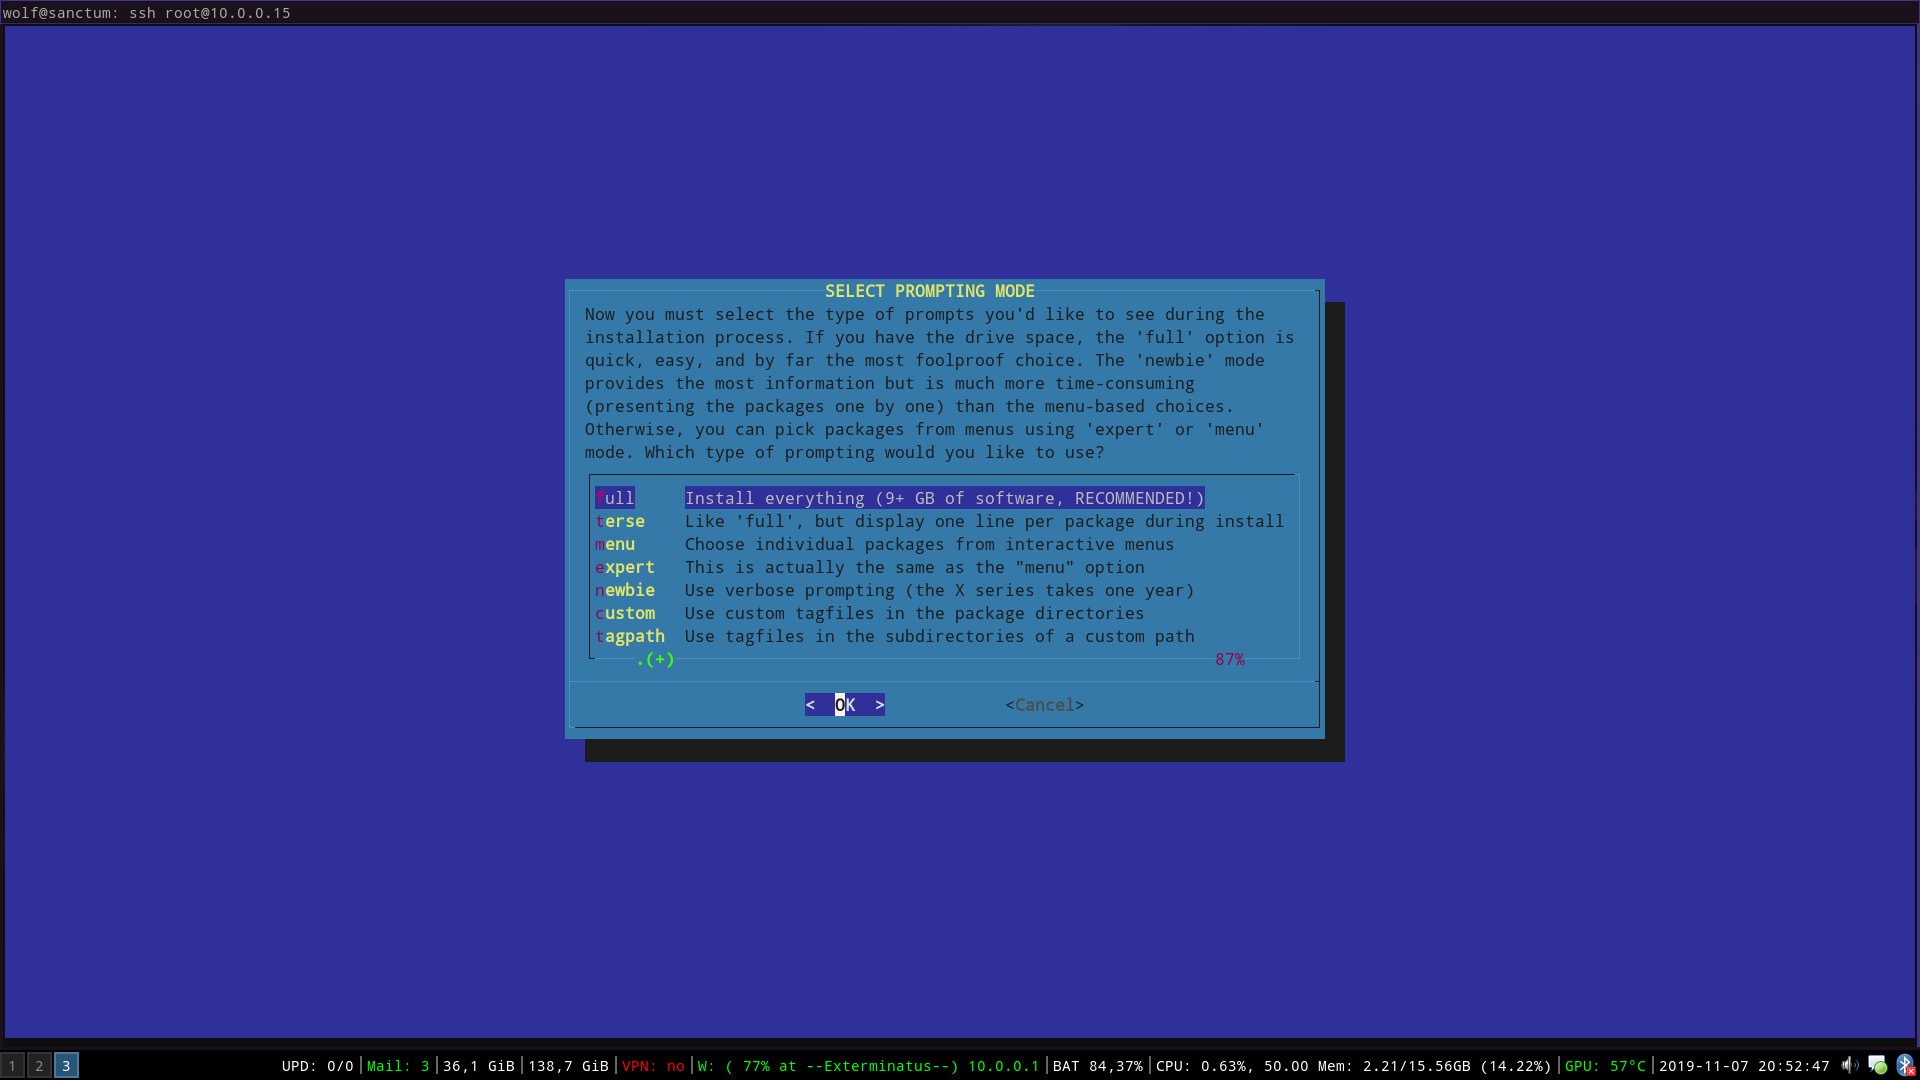
The actual process is one I don't see the point of explaining in too great detail since it is basically just a click-through process. First I set my keymap to Norwegian keyboard, then selecting my partitions and their mountpoints. Since I downloaded the Slackware ARM source media to a USB stick, which is plugged into the Raspberry Pi, I selected to use a USB as source media for the installation process. The setup program then presents a choice of which package groups to install. Since I don't have any specific use case in mind, I decided to simply install everything. At least then I'll have a fairly complete system for most ideas I might come up with.
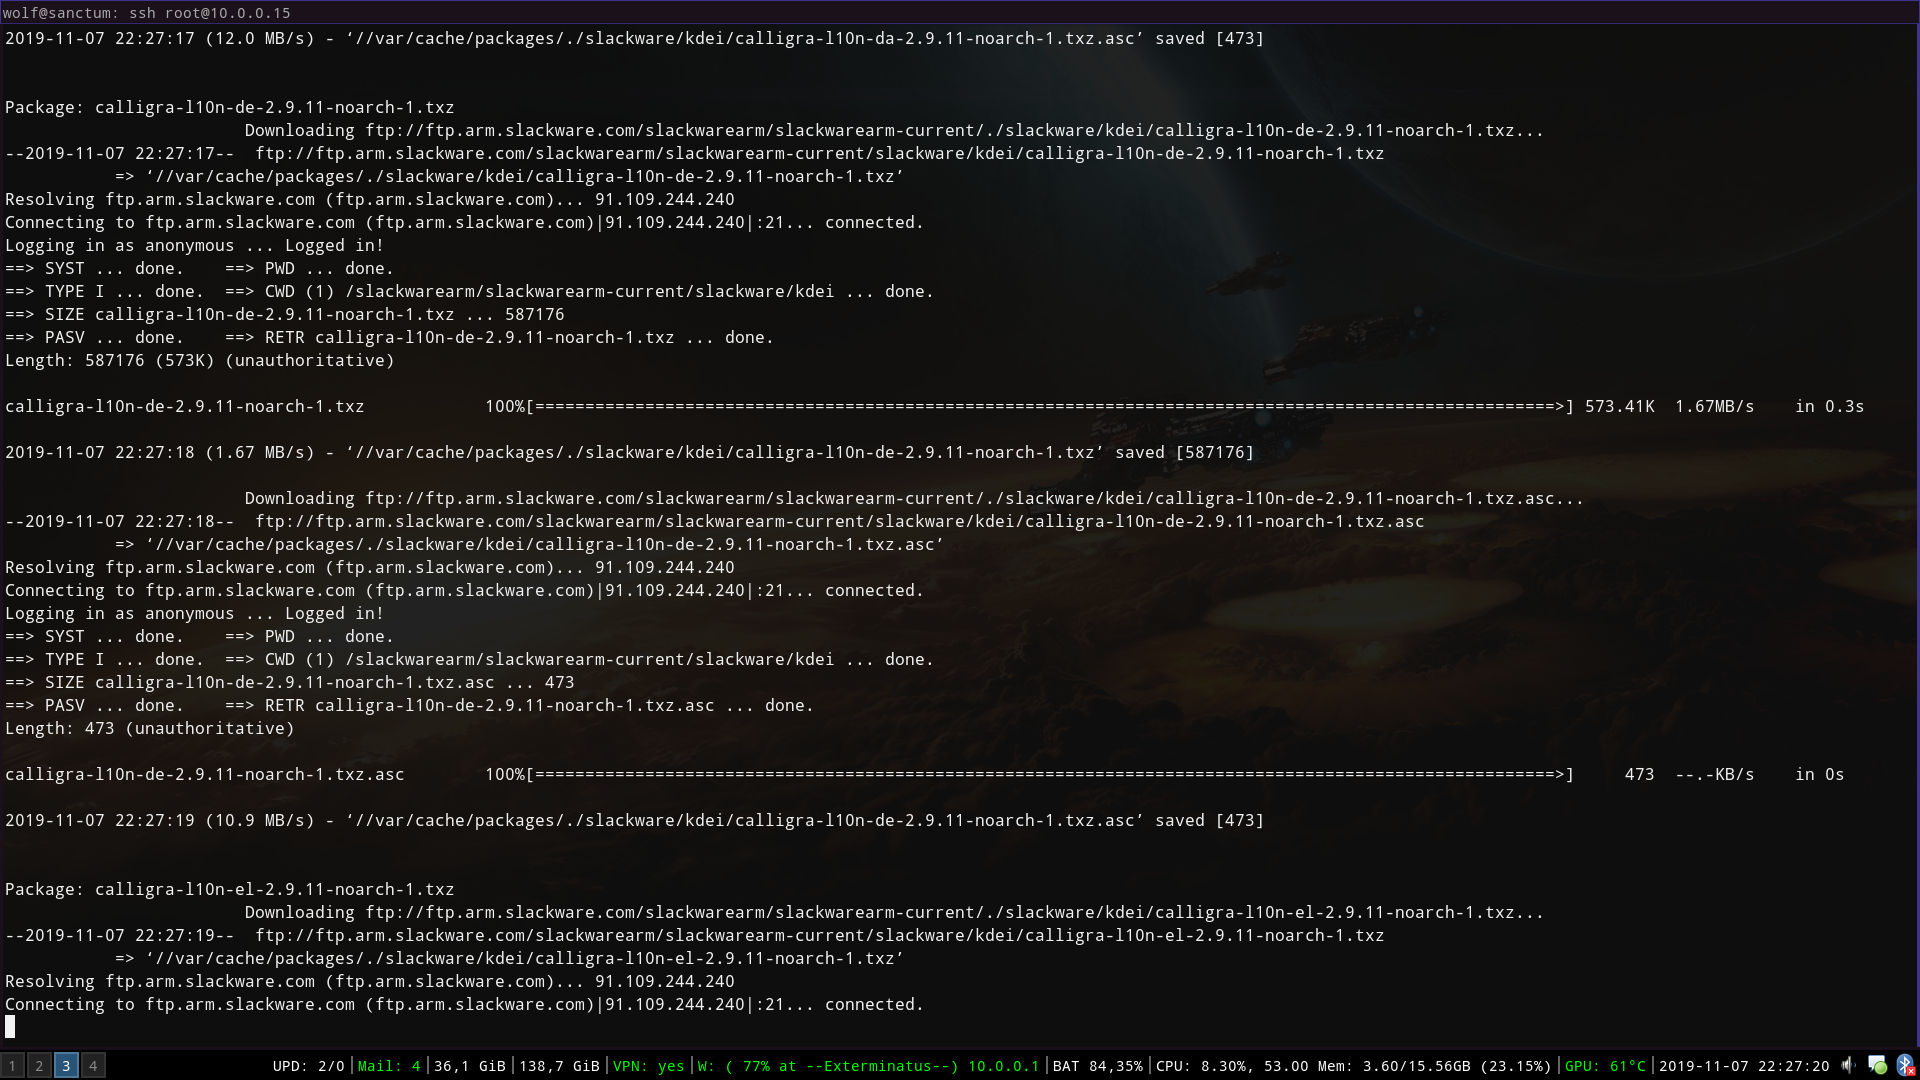
Installing all packages was a pretty lengthy process. I didn't time it, I just left it on while doing other things, but I think it took well over an hour. After this, I had to select which services to launch on boot. This step is not particularly important since you can always change this. On a Slackware system, you simply navigate to the /etc/rc.d directory, and any service you want to start on boot, just make the file executable (chmod +x). Still, I had to ensure that the SSH daemon was running on boot, otherwise I would not be able to connect to the Pi over the network. As for actual networking, I just set it up to stick to Ethernet. I prefer to set up the wireless network outside of this install process.
And that is about it for the setup program. There were still a few things I wanted to do before rebooting the Pi. Since I'm using the current branch of Slackware, I felt it important to perform a full system upgrade, which was a very lengthy process. It took roughly an hour to complete.
I also removed the default kernel that comes with Slackware ARM, and instead installed the specific kernel built for the Raspberry Pi 3, along with modules and firmware packages. These are all provided by the SARPi (Slackware ARM on a Raspberry Pi) project. At this point, I went ahead and rebooted my Pi. Thankfully, it booted up without issue, running Slackware just as I wanted it. I could SSH in as soon as it was up and running.
There was really just one last thing to do, and that was to configure wireless networking. First, I just needed to enable the NetworkManager service. Enabling a service on Slackware is a simple matter, just make the appropriate file in "/etc/rc.d" executable. So in this case, I simply ran "chmod +x /etc/rd.d/rc.networkmanager" Then I also made sure to start the service with "/etc/rc.d/rc.networkmanager start".
In order to actually configure wireless networking, I use one of NetworkManager's command line interfaces, in particular, I ran the "nmtui" command, which gives you a user interface in a text console. It's fairly easy to set things up with this. To ensure that wireless networking is functioning after this, I just reboot the Pi with the Ethernet cable unplugged. Then I scan my local network again with the "nmap" command from my computer, and I find the Pi on a new local IP. I am able to connect to it with SSH, so everything is in order.
After this, there were only a few more minor things that I did, like adding an unprivileged user for normal system use. Any tasks that require root privileges can be done with this user through the sudo command. But my Raspberry Pi is now running a full Slackware system, fully updated and ready for whatever I might think of.
I already have an idea for a small project. If I want the Pi to be able to access a new wireless network, I would need to log into the Pi to set that up. That might be inconvenient in some cases, so I want an easier way to handle that. It would be cool if I could have a USB stick, put a simple text file on it with the wifi details (SSID and password), and simply plug it into the Pi. Then the Pi would automatically find the information and connect to the new wifi. This is a project I'll work on when I have the time as it is not crucial. I will make sure to do a short article on it when it is done.
But for now, my Raspberry Pi is running beautifully.
Categories: GNU/Linux, Free Software
You need to Log in to comment.
If you don't have an account, then feel free to Create an account